I am delighted. I have made all my Valentine cards and it is not even the 13th yet! I even have the ones to mail completed. Yeah. I handmake about 15 cards for this holiday so it can take a little bit of time. Cardmaking is something I really enjoy. I get to take little bits of goodness and put them all together on a small mat.....wonderful. It's also a way I can use up those little pieces of lace that I just can't seem to part with.
I had purchased the Authentique valentine 6 x 6 pad to use in a project. Reality.....my class happens after Valentine's day. Ugh. I had made a really cute project. So, I became the proud owner of a whole 6 x 6 pad with 3 pieces removed. What else was I to do.......time to make the cards.
I just love the simplicity of this one. A little vintage lace, a vintage postcard, some bling. Perfect.
By far one of my favorites today. Love the new Maya Road pink ribbon here. I have had the vintage tag for over a year now. Just some pink yumminess.
This is actually a huge sticker that I ordered online. It was a whole sheet of vintage looking postcards of many sizes. I did not like what the sticker was so I fussy cut what I did like. What you cannot see in the pic here is that the stamp at the bottom has a gloss finish to it. Really stands out.
Simple. To the point. Again using some of my vintage finds. Love the black lace edge.
Tied for my favorite today. Love banners. Love the Maya Road ribbon again. The Maya Road vintage metal roses are really adorable too. The little vintage girl in the center is from the Authentique line.
Little boys. This is for my youngest. He adores wordsearches and animals. The Authentique paper was perfect for this. A little bit of glitz to suit mom and I am done!
Hope you enjoyed these few cards. Hope it inspired you to get moving on yours! Next time I will show you my Valentine project that is not going to be a class!
Saturday, February 9, 2013
Thursday, February 7, 2013
I can hardly wait!!
I am so excited! I am going to teach a class at Scrapfest in Louisiana at the end of the month! I finished my project yesterday and it is up on the website now. I thought I would share a little pic with ya'll though.....
I will show you more of the details at a later date. It is soooo adorable inside though! I used the new Bo Bunny Prairie Chic paper along with new petaloo flowers, some Maya Road beauties, and some Tim Holtz embellishments. I had this in my mind when I saw the papers but sometimes everything comes together better than I imagine. This is one of those times.
I hope you adore it as much as I do. Have a great day.
Sunday, February 3, 2013
Craziness and a new project
I'm Back!!!! I am so sorry for not posting this last month or more. I actually did write quite a few posts but for whatever reason instead of pressing Publish, I pressed Save. You know what that means? That means that the posts did not appear here in the blog for you to read. They were just hanging out in my blogosphere waiting for me to make them "real" posts and not drafts. So sorry again.
It has been incredibly crazy here, as usual. A little catch up is in order I think. Christmas was wonderful as always. Loved having all my little ducks home! It still amazes me that I have adults! The changes in them have been mind blowing and wonderful! My parents stayed with us all through the holidays and we hated to see them leave. Mid January I left for an incredible WEEK of creative energy known as CHA. First time. Oh my. It was, well, incredible. I expected some warm, wonderful weather in sunny Anaheim, California. But no. It was cold. One of the coldest on record. So cold that Target got some of my hard earned cash in exchange for some warmer clothes! So cold in fact that I had chapped skin from the biting wind. Overall, I still had an amazing, memorabe time with Karrie, Tove, and Michelle. (Remember girls, we are all Princesses! Ah, Disney is not just for children!) Came home to a house full of sick children who spent a week running me ragged and pushing all my responsibilities and crafting back. Finally things are starting to return to normal levels of craziness here. There is so much more that happened in that month and a half but this gives you a wee bit of life here.
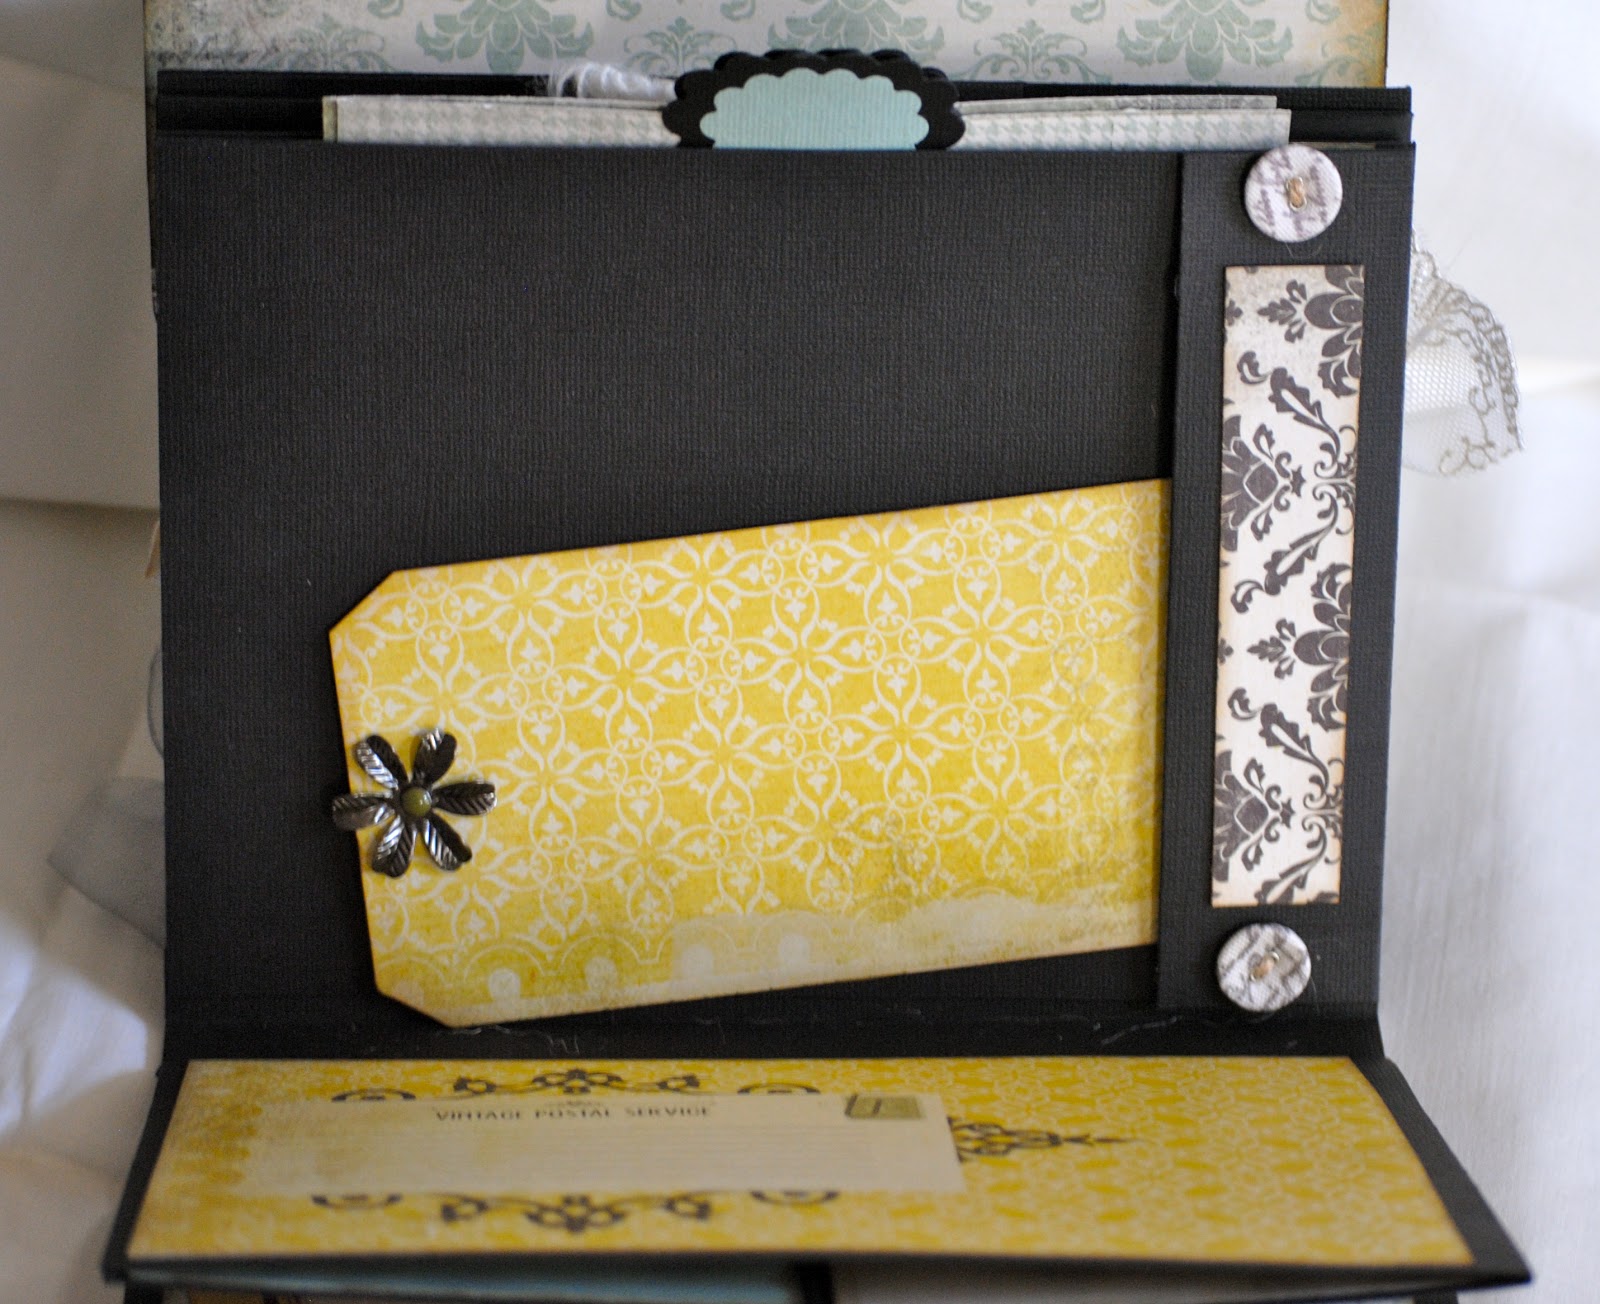
So, on with the project! This months first class at Scrapp n' Savvy is an unusual mini album using the We R Memory Keepers Antique Chic paper collection. I have added a bunch of vintage ribbons and trims and also used most of the embellishments from the collection to make this little treasure. Love that it will hold a 4 x 6 photo without having to trim it. On to the pictures.....
So, the pics are pretty much out of order. Sorry. However, it gives you the idea of the album and the trims.
I am planning of posting regularly from this point on. I hope you all stay tuned and check back with me. I have tons of cute projects I want to show you and a video or two. Keep calm and craft on!
It has been incredibly crazy here, as usual. A little catch up is in order I think. Christmas was wonderful as always. Loved having all my little ducks home! It still amazes me that I have adults! The changes in them have been mind blowing and wonderful! My parents stayed with us all through the holidays and we hated to see them leave. Mid January I left for an incredible WEEK of creative energy known as CHA. First time. Oh my. It was, well, incredible. I expected some warm, wonderful weather in sunny Anaheim, California. But no. It was cold. One of the coldest on record. So cold that Target got some of my hard earned cash in exchange for some warmer clothes! So cold in fact that I had chapped skin from the biting wind. Overall, I still had an amazing, memorabe time with Karrie, Tove, and Michelle. (Remember girls, we are all Princesses! Ah, Disney is not just for children!) Came home to a house full of sick children who spent a week running me ragged and pushing all my responsibilities and crafting back. Finally things are starting to return to normal levels of craziness here. There is so much more that happened in that month and a half but this gives you a wee bit of life here.
So, on with the project! This months first class at Scrapp n' Savvy is an unusual mini album using the We R Memory Keepers Antique Chic paper collection. I have added a bunch of vintage ribbons and trims and also used most of the embellishments from the collection to make this little treasure. Love that it will hold a 4 x 6 photo without having to trim it. On to the pictures.....
So, the pics are pretty much out of order. Sorry. However, it gives you the idea of the album and the trims.
I am planning of posting regularly from this point on. I hope you all stay tuned and check back with me. I have tons of cute projects I want to show you and a video or two. Keep calm and craft on!
Tuesday, December 4, 2012
It's beginning to look a lot like Christmas
I just love Christmas time, don't you? The smells, the beautiful decorations, family...just all of it. I feel especially blessed to have such a wonderful family and look forward to spending the holidays with them.
Well, I don't know about you, but I take a ton of pictures at Christmas. So many times they end up just sitting on my computer for a year before I take the time to do something with them. As many of you know I tend to scrapbook by events. I will take all the pics from an event or holiday and make an album for just that. I have a huge Hawaii album and so many smaller ones that are from Spring Break, prom and after prom for my son, and even a few little ones for birthdays. Having 5 children makes scrapbooking seem daunting at times; like I don't know where to begin. The small "event" albums make it easier for me.
That said, let me show you a new Christmas album I have made.
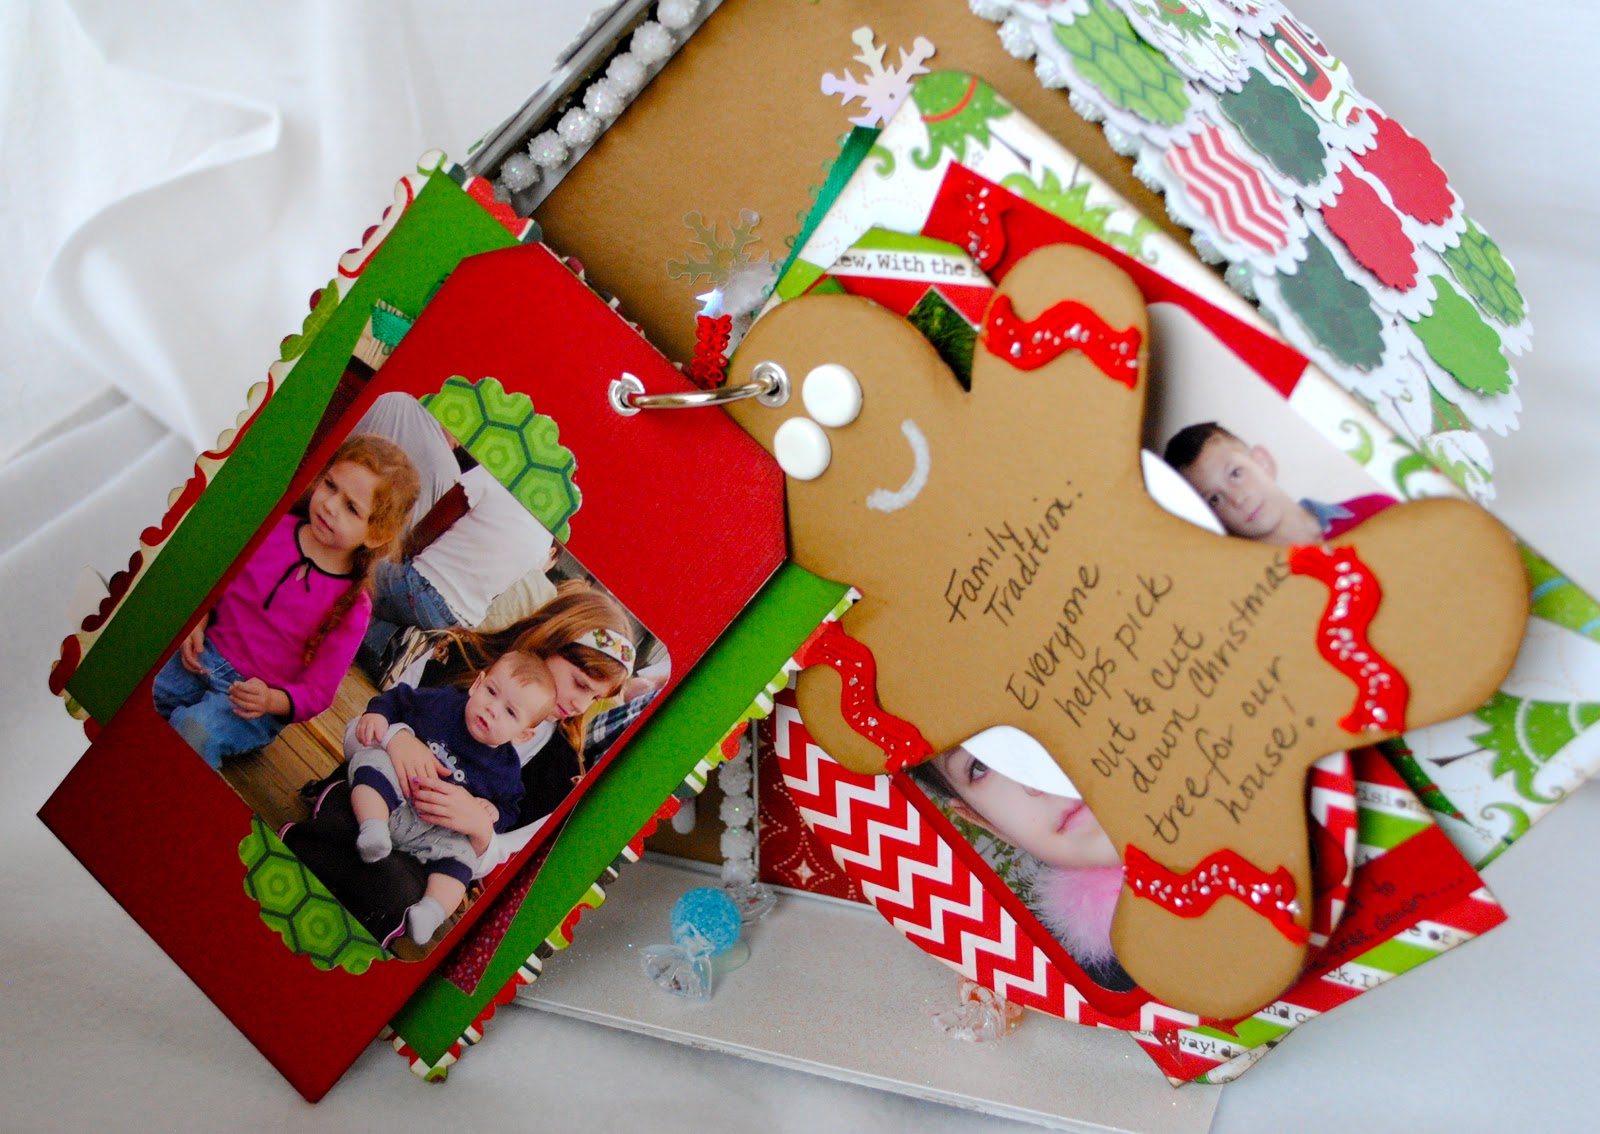
As you can see it is a gingerbread house. The roof lifts off to show the cute mini album inside. This is actually my December project at Scrapp n' Savvy. The mini album has some of my favorite pictures of the kids at Christmas. I actually have about 10 more pages that will get added to it this week. I have the perfect place for it in the den that I think will add to the Christmas spirit in the house. I think the Bo Bunny paper was just perfect for this.
I am planning on a 12 days of blogging for Christmas. This will begin on Monday, Dec 10. Join me each day as I show you some fun Christmas goodies I have been working on.
Until then, craft on ladies!
Well, I don't know about you, but I take a ton of pictures at Christmas. So many times they end up just sitting on my computer for a year before I take the time to do something with them. As many of you know I tend to scrapbook by events. I will take all the pics from an event or holiday and make an album for just that. I have a huge Hawaii album and so many smaller ones that are from Spring Break, prom and after prom for my son, and even a few little ones for birthdays. Having 5 children makes scrapbooking seem daunting at times; like I don't know where to begin. The small "event" albums make it easier for me.
That said, let me show you a new Christmas album I have made.
As you can see it is a gingerbread house. The roof lifts off to show the cute mini album inside. This is actually my December project at Scrapp n' Savvy. The mini album has some of my favorite pictures of the kids at Christmas. I actually have about 10 more pages that will get added to it this week. I have the perfect place for it in the den that I think will add to the Christmas spirit in the house. I think the Bo Bunny paper was just perfect for this.
I am planning on a 12 days of blogging for Christmas. This will begin on Monday, Dec 10. Join me each day as I show you some fun Christmas goodies I have been working on.
Until then, craft on ladies!
Monday, November 12, 2012
Fall, finally!
Oh my isn't today GRAND? The cool weather had finally hit here in the humid south. Better get out and enjoy it today because it probably won't last too long!
To get you into the Thanksgiving spirit I thought I would share my Apple Cider mini album with you today. This is a class that I taught at Scrapp n' Savvy this month. The album is made using the Bo Bunny Apple Cider paper collection.
I have always been a huge fan of Bo Bunny papers and this one is a winner for me again. The colors just make me want to go find those beautiful fall leaves. This is a pocket album and holds a hefty 48 pictures! Small in stature but big inside.
I hope everyone enjoys the lovely weather. For those of you checking in from class, visit the gallery to take a view!
To get you into the Thanksgiving spirit I thought I would share my Apple Cider mini album with you today. This is a class that I taught at Scrapp n' Savvy this month. The album is made using the Bo Bunny Apple Cider paper collection.
I have always been a huge fan of Bo Bunny papers and this one is a winner for me again. The colors just make me want to go find those beautiful fall leaves. This is a pocket album and holds a hefty 48 pictures! Small in stature but big inside.
I hope everyone enjoys the lovely weather. For those of you checking in from class, visit the gallery to take a view!
Thursday, November 1, 2012
The rest of the tags!!!
Tags. Who doesn't love tags? I love, love, love them!!! As a child I took art lessons, painting to be exact, while all my friends tumbled, cheered, or played enough piano to make their little fingers hurt. I painted. A lot. Being an only child I had access to the "extra room" in our house so I made it my personal studio. Well, only the closet. Yep, that's right. I had a studio in a small walk in closet. It was great! I would sit on the floor and paint for hours.
My teacher always complained that I would never paint large paintings. The largest I liked was about a 16 x 20. Rare occasions had me painting on a 20 x 26 but very rarely. She liked the 40 x 50 size. That's freaking huge!!! Especially to a 10 year old! My favorite was, and still is, the small canvas sizes of 8 x 10 and smaller. I don't know why. To this day I have groupings hanging in my house of smaller framed paintings that are 8 x 10 and smaller.
All that info leads me back to the tags. I think one of the reasons I like tags so much is that they are like a mini piece of art. My favorite size. The more intricate the design the better. I posted 2 tags a few posts ago, but I wanted to post pics of all the tags from the class I had recently that was just about tags.
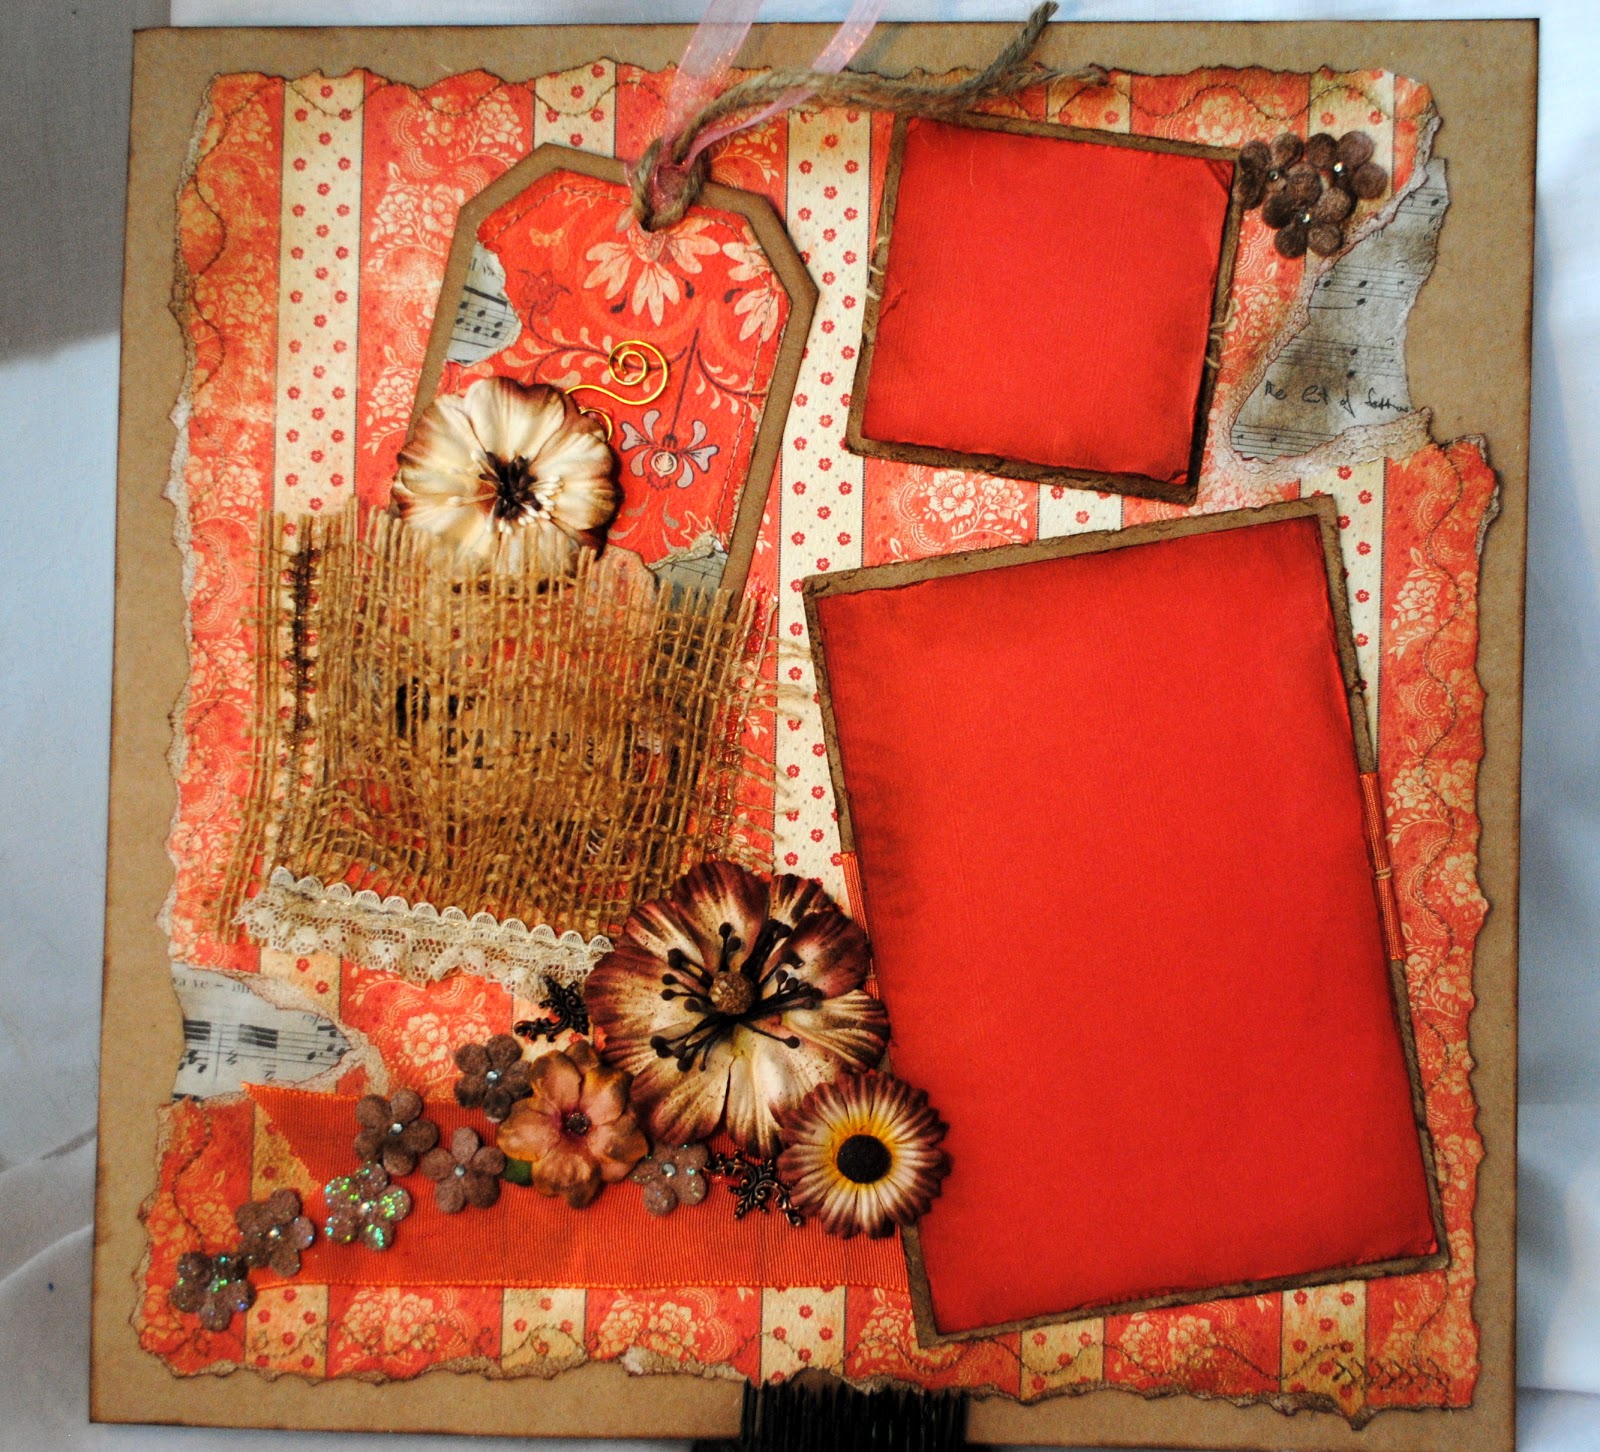
This tag is one of my favorites. It was shown on the previous post but I wanted to show the more detailed photos. The paper collection used is by Authentique. I just adore the colors. So many people make the tags but don't know how to then use them. I created the layout to show how to incorporate a tag into a layout. Didn't it turn out great? As you can see the tag fits perfectly into the burlap pocket I created on the page.
Who doesn't love those mini hangars? Had to use them. A bit of bling and Voila!
Oh my. This tag turned out so elegant. This is a foil technique I saw on Pinterest (my addiction). This tag is made the same way I saw how to make it on Pinterest. However, for my class I changed it and used modelling creme and one of the wonderful Crafter's Workshop templates. We played with some other tidbits and the foil too.
My second favorite and the reason I did the tag class is this cutie. Everyone wanted to make this one. It has a bunch of tiny components, and probably took the longest to make, but the efforts are worth it. In class I showed other variations including a Christmas tag made this way.
And lastly.....the gift card holder. How many times do I give up and just purchase a gift card as a gift? Well, at least now they can be given in a cute tag! How cool is it that I get the satisfaction of making the tag and then giving the mini art to someone with a gift.
All of these tags were inspired by tags I pinned while on Pinterest. Visit me on Pinterest and you can see them on my boards (I am under Terri Chronister-Burnette). I hope one of these inspired you today. Let me know what you think.......
Thursday, October 25, 2012
What I've Been Up To
As always, life around here is chaotic. There are days that I fall into bed and wonder (the next day of course) how did I do all that? I have become a master at last minute things. I can make a costume in 5 minutes and still get everyone to school on time. I can remember where everyone has placed their important things and even the not so important things...kinda like a human data base! And make dinner. And get everyone to whatever activity. And make sure the cupcakes get done for the party. And...... Sound like I'm tooting my horn? Well, maybe. But every single mom I know does this. Once you become a mom you somehow obtain these superhuman mom powers to do all this stuff!!!
So, let's bring my feet back to terra firma! I'm going to introduce you to my very own Frankenstein. I made him. Complete. My design. My hands. My mistakes. :)
So, here goes. Meet Frank:
Frank is my solution to a side desk. I find that I like to have certain items at hand when I am creating but don't like to waste my precious desk space for them. So I made Frank!! I have the white cubes for all my stuff and they stack, but the roller base just does not work well. It inhibits drawers opening or getting stuff out of cubbies. And there is no space for the extra junk. Frank does it all. He has casters, holds the 2 cubes with space for my extras and has a working space on top! I love that when I am not working or don't need it, I can just roll it out of the way. It doesn't look too bad. (I did have my husband add 2 cross bars at the back the next day since it swayed so badly!)
Now do you see why I call it Frank? I used some old wood that we had in the garage to make it. Some shelves, some just pieces. Add measure? HA! Not me.....I just eyeballed it and made it work!
From the side you can see my creation and how it is put together.
Well, I love Frank! It is just so incredibly useful and that is what matters. I only spent $8 on the casters. While I was moving a few things to Frank I realized that the system I used to hold my paper collections under my desk was really not working well for me. I have been slowly going through everything and cleaning out for a garage sale at the scrapbook store. I was lucky enough to be in the right place at the right time and purchased this cube system (see pic below) for $2!!! Perfectly fits in the closet and now I have amazingly easy access to all my paper collections. I love that! I then placed things that I really don't need very often under my work table.
I really love it when something comes together in the end. I guess I am an organizational freak because I like things in their places. And of course I need to be able to get to everything easily or I won't use it (lesson learned!!!)
Just thought I would share this with you today. Frank and I have work to be done. Look for some cute tags in a few days. In the mean time, have a scrappin good day!
So, let's bring my feet back to terra firma! I'm going to introduce you to my very own Frankenstein. I made him. Complete. My design. My hands. My mistakes. :)
So, here goes. Meet Frank:
Frank is my solution to a side desk. I find that I like to have certain items at hand when I am creating but don't like to waste my precious desk space for them. So I made Frank!! I have the white cubes for all my stuff and they stack, but the roller base just does not work well. It inhibits drawers opening or getting stuff out of cubbies. And there is no space for the extra junk. Frank does it all. He has casters, holds the 2 cubes with space for my extras and has a working space on top! I love that when I am not working or don't need it, I can just roll it out of the way. It doesn't look too bad. (I did have my husband add 2 cross bars at the back the next day since it swayed so badly!)
Now do you see why I call it Frank? I used some old wood that we had in the garage to make it. Some shelves, some just pieces. Add measure? HA! Not me.....I just eyeballed it and made it work!
From the side you can see my creation and how it is put together.
Well, I love Frank! It is just so incredibly useful and that is what matters. I only spent $8 on the casters. While I was moving a few things to Frank I realized that the system I used to hold my paper collections under my desk was really not working well for me. I have been slowly going through everything and cleaning out for a garage sale at the scrapbook store. I was lucky enough to be in the right place at the right time and purchased this cube system (see pic below) for $2!!! Perfectly fits in the closet and now I have amazingly easy access to all my paper collections. I love that! I then placed things that I really don't need very often under my work table.
I really love it when something comes together in the end. I guess I am an organizational freak because I like things in their places. And of course I need to be able to get to everything easily or I won't use it (lesson learned!!!)
Just thought I would share this with you today. Frank and I have work to be done. Look for some cute tags in a few days. In the mean time, have a scrappin good day!
Subscribe to:
Posts (Atom)