background

Thursday, February 20, 2014

Everybody needs a little love

Have you ever had "one of those" days?  Things just don't seem to go right?  Yeah, me too.  I just had one of those!  I have a solution though.  Many years ago I had a self affirmation journal.  I would write down things that were positive affirmations, stick in things I found that were positive, and basically anything that made me feel good about me.  I think it's time to do it again!

A little background....recently I made a mini album for a class at Scrapp n' Savvy that used Fancy Pants paper collection called Happy Go Lucky.  It is such a fun paper line; lovely colors and patterns throughout.  Oh, and the extras that go with it are such fun!  I liked the paper so much that I bought extras.  Fast forward to yesterday....I decided that I would use this paper to make my affirmation book.

Would you like to see it?
 Aren't the papers and colors adorable?  All of the little bows on the button sheet made me think of a kite.  I designed and printed the center oval on my Cameo (just love it still!)
 Each page and small tags for those little sayings and lots of pockets and places for other affirmations.
 This is one of my favorite pages.  I used chicken wire and hung mini tags from it.  I can clip other thing on or even tie them on with twine.
 The green polka dot envelope is from the collection.  I added a binding to it to make it a page.  Also, on the left side page I used an old dictionary page and highlighted the word "positive".
 Thought I would fill the banner with words that are positive.
 See the yellow mat on the right side page?  It is really a fold-out booklet.  Perfect for more happy thoughts.

 Pockets and tags.  All part of the collection.

The back is covered in one of my favorite pieces from the collection.

Every girl needs to know they are special.  Sometimes having it written makes it stronger.  I hope you are inspired to make your own even if it is just a moleskin journal you can write positive things in.  Make it yours and make it happy.  Just remember - start the day with a smile and it will last all day long!

Be happy!

Thursday, February 13, 2014

It's more than "just a pretty little sticker"!

Have you ever seen the Elizabeth Craft Design stickers?  Aren't they wonderful?  I was introduced to these pretty little things a while back during a card making class and I got hooked instantly!  I have purchased quite a few since taking that class.  And the glitter.  And a bunch of Copic markers to color them with.  And some more glitter.

Ah.  I think you see where I am headed here.  I really, really like them!  So when Elizabeth Craft Designs opened a Design Team call I was thrilled.  You see, there is so much more to Elizabeth Craft than just those pretty little stickers.  They have a whole line of fabulous micro fine glitters including the original highlight glitter.  And sometime last year she added thin dies to the line up!  Boy are those adorable!  So many choices.  And in case you haven't heard, this year Karen Burniston joined Elizabeth Craft to bring her wonderful pop it up dies!  Wow!

If you haven't checked out Elizabeth Craft Designs lately you need to.  Visit their site at Elizabeth Craft Designs.

Would you like to see the fun projects I submitted for the DT Call?  Hope so.  I had to submit 4 projects.  Anything I wanted to.  And believe me it was a hard decision.  I went back and pulled a few of the projects I had completed for my personal use.  Then I made a couple new ones too.  Grab a cup of tea and take a look:

This is a fun layout featuring my youngest on his first trip to the pumpkin patch.  I used the fall leaves stickers and a watercolor technique to color them.  I also used the pumpkin die cut.  I love how the dies have so many pieces to layer.  It really gives dimension.  I, of course, used my Gelatos to color and add some zing around the page!  Close-ups follow.


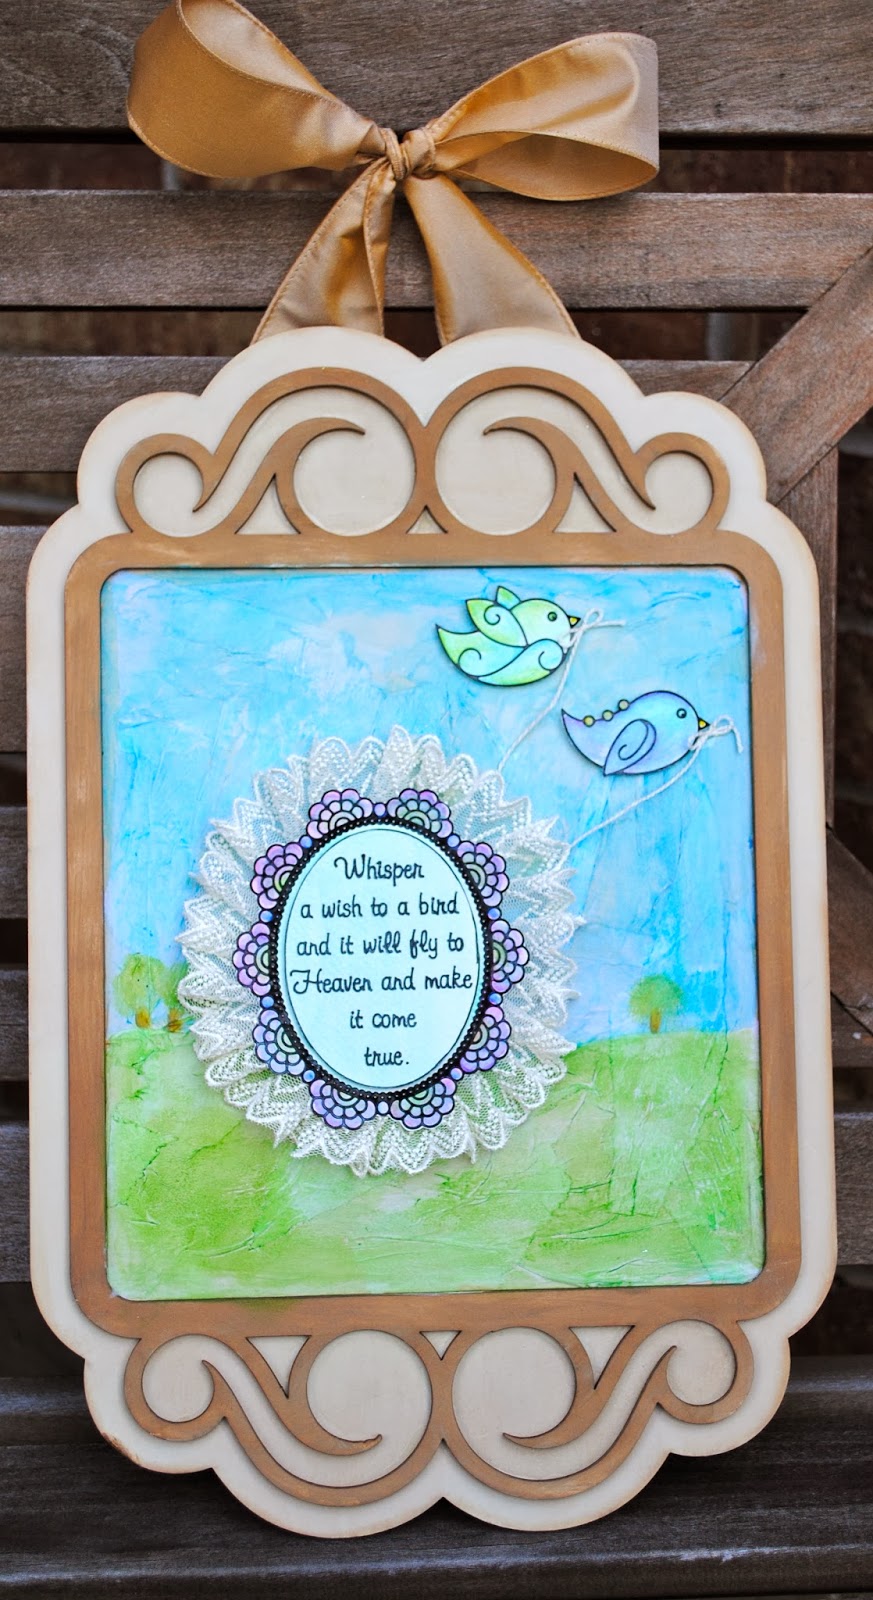
A little mixed media board!  You know I couldn't resist!  This has so many layers.  Paint, ink, mulberry paper, tissue paper, and of course the stickers used in a bit of a different way.  Colored with watercolors and Gelatos.

This is one of my favorite sayings!

This is the original technique I learned that hooked me!  Using highlight glitter on double sided tape and an outline sticker I then colored the image with Copic markers.  It is definitely a crowd pleaser!  Everytime I give a card with this on it the recipient oh's and ah's!


I made this necklace using an outline sticker with the highlight glitter again.  It is adhered to an Ideology butterfly and pen nib.  Glitter embellishes the edges and coordinating beads accent the whole piece.  I love wearing it because it brings a little bit of Spring to our dreary wintertime!


That is my DT submission.  I hope you liked seeing my projects but I hope Elizabeth Craft Designs did too!  Leave me a comment and tell me what you liked.

Be inspired today!  Thanks for stopping by.

Saturday, February 8, 2014

A little more Valentine inspiration

Just thought I would share a few more of the Valentine cards I have made.  Maybe a little inspiration for you?  Hope so.  Enjoy!


A side look at the one above.  It is a bit fussier inside.

I am absolutely in love with these arrows from Maya Road!


Again, with the arrow!
And opened to reveal a banner!

And my personal favorite right now:


Made with G45 papers (using only the Valentine sheet).  And of course I used my Cameo to get the perfect sized cut outs for the right and left flaps.  Love it!

I hope you enjoyed the pics.  Enjoy your weekend!

Tuesday, January 28, 2014

Heart Obsession

I admit it.  I have a heart obsession.  I just love vintage Valentine's.  What did you think I meant?

I recently added a board to my Pinterest account especially for my heart obsession (obviously entitled the same name).  Valentine's Day is one of those holidays that I decorate very little for even though I enjoy all the hearts of the holiday.  I love seeing all the vintage Valentine's.  I have been slowly adding some handmade creations throughout my house.  I thought I would share them with you here.  Then my neighbors precious little ones knocked at my door.  Did I say they are adorable?  Well, in they came (aged 6 and 3) and the "oohs" and "aahs" began.  "I LOVE that" announced the little girl.  "Oh, my mom would LOVE that" adds the little boy.  So now I have no decorations to show you!  Trust me on this.  You would not have resisted them either!!!

Today brought us our second "snow" day in south Texas.  Amazing.  Just amazing.  The first one was last Friday.  Who would have guessed!  So I passed my cold, stormy day papercrafting.  Want to see?  Well, here you go:
 Cards.  I spent my afternoon making Valentine's cards!  I had so much fun.  
 Inside of the above card.  Simple and to the point.
 Card #2 - even more simple.
 And the inside.
A little close up of the window on the front.

Did I mention that I used my Cameo?  Kind of a no brainer these days!  I really had some fun making these shapes, learning new things about my cameo, and playing with the new double sided paper from Silhouette (see the glittered heart on the first card).  

So.  Now I get to re-make some of my cute little vintage Valentine decor.  Let's just hope the adorable kids from the other side of me don't knock!

Sunday, January 19, 2014

Ready for Valentine's Day

I know.  I know.  It's only January.  But I know how Valentine's Day can sneak up.  This year I'm ready!


This cute little mini is made with the Authentique paper collection called Smitten.  Inside the double flap front you can see the 5 tabbed top pages in the center, the tri-fold on the right, and the mini pocket holding a mini clipboard on the left.  Of course, all the pages in the center are interactive!

I am teaching this class tomorrow at Scrapp 'n Savvy.  Call the store to sign up.  Just a few spots remain.

Are you getting ready for Valentine's already too?  I would love to hear from you.  Be inspired and enjoy this lovely Sunday.

Friday, January 17, 2014

Faber Castell Design Memory Craft

Good Friday to all of you!  I am super excited to post this today.  Fair warning....this is picture heavy today.  So, go grab a cup of something (I've got my hot tea) and enjoy!

Today I am submitting this blogpost as an audition to Faber - Castell Design Memory Craft for a spot on the Guest Design Team.  For those of you who read this regularly you know how much I LOVE my gelattos!  I have become very attached to all my products made by Faber-Castell.  They are all in a special bin that I can grab for on the go.

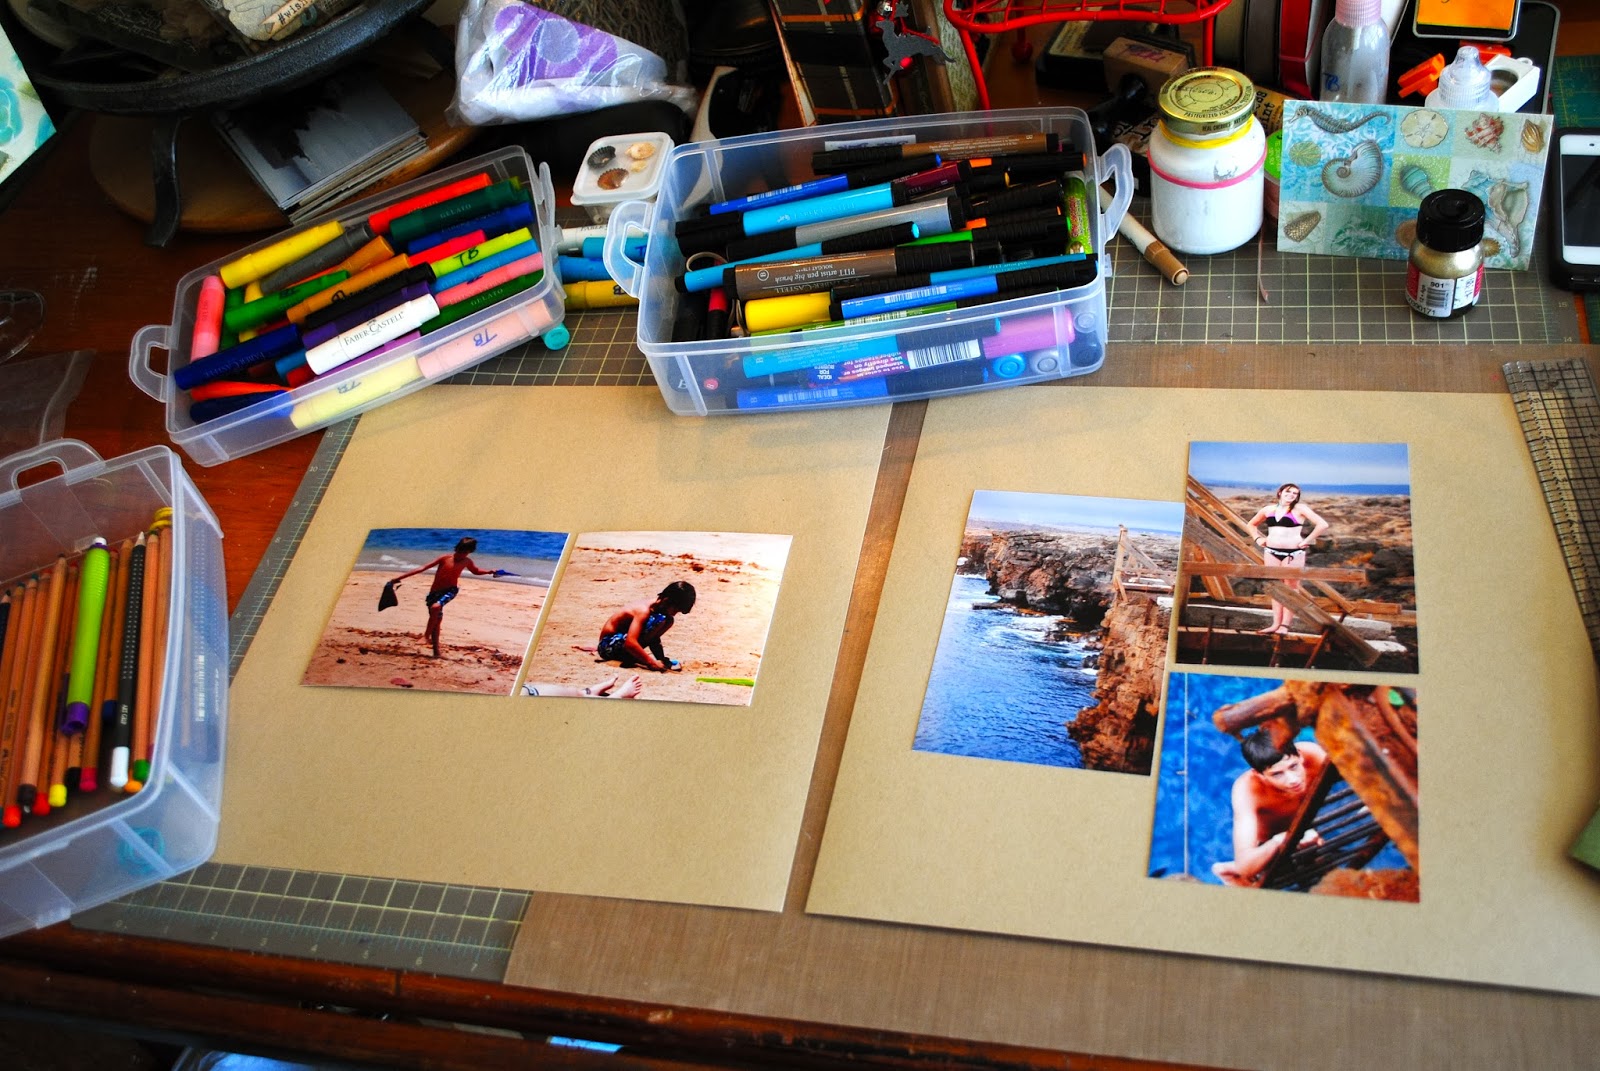
I have so many pics that I am scrapbooking and I like my layouts to be a little different.  That's where I use my gelattos, PITT pens, and Aquarelle pencils.  I thought I would show you a tutorial today on how I made one of my double 12 x 12 layouts.

This is where I begin.  I have my pics arranged how I think I want them.  My gelattos and PITT pens are at the ready.  I have my patterned and other solid papers out for inspiration.  I know it's a stretch, but....in the pic in the upper righthand corner is a small postcard.  It is my "jumping off" point for this layout.  I loved the colors and the seahshell on it.  The pics I have chosen to work with are all of my children when we were in Hawaii.


Once I moved my pics out of the way I got down to work (not work, just fun!).  I began by distress inking all of my pieces (I used brushed cordoruy distress ink from Tim Holtz).  Once that was done, I used several turquoise gelattos to edge my base cardstock.  Just a quick, thin sweep of color along all the edges was perfect.  I dampened my finger tips and rubbed the gelatto color to smooth it out some.  It is not perfect.  Some areas are wider than others but I think the sweep of color pulls the whole layout together.


Next step was to use the gelattos to add color and dimension to the embellishments on my pages.  I used my Cameo to cut out a piece of coral, some shells, and a number of seahorses.  I scribbled Snow Cone, Turquoise, White, and Champagne Gold gelattos on my splat mat.  Then, with a small brush and water, I painted in the details on each embellishment.  For the seahorses I used a very old paintbrush and pounced the color onto the shape.  This gave an irregular color pattern and added some depth.  The gold was added on the crown and spikes of the seahorses and also around the edges of the coral.


 Here's a close-up of the seashell and the title piece once I added the gelatto color.


 To give some dimension on the layout I thought it would be nice if the sand dollar had more of a natural, domed shape.  I know you could use a stylus for this, but I had a perfect ball point pen end to do it!  I turned the shape so that the right side was facing my palm.  Then gently pressed down and moved the end of the pen in a circular motion.  This allowed the paper to shape like a dome.  It turned out perfect! I used the same technique to give the seashell a dome on the right side layout below and on the starfish on both pages.


Once I had added color to all the pieces I attached them to my layout.  I LOVE how it turned out.  The small amount of turquoise gelatto on the edges of the main page really add to the layout (Trust me on this one.  I accidentally left it off the right side page.  Once I looked at it,  I saw how much the pop of color adds and quickly fixed my oops!).  You can see in the pic below that I used some fishing net to add layers.  I used the Champagne Gold gelatto directly on the net to add some pops of sparkle.


I have posted many of my projects that have used gelattos or PITT pens.  Take a moment and look back through some of my posts (like the last audition for Faber Castell that I somehow mistakenly sent in late. I somehow got the time change wrong.  The realization was awful!  But the submission was of an awesome mermaid mixed media canvas.  Check it out.).  The gelattos are so versatile.  Try them.  I bet you will love them just like I do!

Do you like the page?  I would love to hear from you!  Leave me a comment below.  Also, find Faber-Castell on Facebook  (http://www.facebook.com/DesignMemoryCraft) , Pinterest (http://pinterest.com/designmemcraft/), or Twitter (https://twitter.com/DesignMemCraft).  They have some of the best designers and they love to share their projects!

As always, I hope I have given you some inspiration today.  Stay happy and craft often!

Friday, January 3, 2014

Happy New Year!

Happy New Year to all!  Just a quick post for well wishes.  I'm sure your house has been chaotic like mine.  I just love having all of my children and my parents here.  The laughter and fun is just what we all needed!

Life is quickly getting back to "normal" here though.  I have spent a whole week prepping for my next quarter projects!  Woohoo!!!  I am very excited to show them.  Just wish I could find the camera.  It's here.  I know it is.  Used it for Christmas.  I'm pretty sure the cats put it someplace!  I have several things I want to share with you.

So, without the camera to take pics of the new stuff, I will share some pics that I took before Christmas.
 I know these are not traditonal Christmas colors, but.....   These precious mini roses and mini daisies were just so pretty.  I brought them home, arranged them, and they opened perfectly!  Just a small dash of loveliness.
 Chrismas treats for the school kids.  These cute little reindeer are wrapped around Hershey bars!
 The pic above and the one below are from the gift card class I taught at the beginning of December.  We made the 5 gift cards in class and the cup card was a take home.  The cup, the Santa, and the present all pull off from the top to reveal a git card.  The others are more mini envelope size.  Class favorites were the Santa (my favorite), the coffee cup (duh!) and the small red and white that holds multi cards.
 Below is a re-visit of the Christmas album I made this quarter and a few of the inside pics.  I still just love this book.  I holds so many pics from Christmas.  Now to print them (after I locate the camera) and  stick them inside!  Love that my album is just waiting for pics!


 I like to make interactive minis with pockets and tags and pages that are fun for the person looking.


Hope this was a little inspiration on a cold winter day!  It's cold here and I am loving it.  A chance to wear a sweater (in Texas that might only be a day or two in the year!).  Working the Scrapp n' Savvy Sampler today and tomorrow.  Always fun.  Hard work, but fun.  Live nearby?  Stop in next week.  The boss is away and we will play!  Sale, sale, sale!!!

Blessings for a Happy New Year to you all.  May God bless you abundantly!