background

Saturday, September 13, 2014

A sad day.....

Everyone has wishes in their lives.  Some are great; some are small.  It is just a part of who we are.  But it is so awesome when a "big" wish comes true!

I have wished that I could be a part of a wonderful company inspiring individuals creatively for some time now.  My wish came true when I became a part of the Design Memory Craft Summer 2014 Design Team.  Truly a wish come true!  I have enjoyed myself immensely.  It was everything I had wished for and oh so much more.  I met some amazingly talented ladies who have inspired me greatly.  I hope to hold them as friends for a lifetime.  I have had some ladies write and tell me how I inspired them.  Wow.  Just amazed me.

So, it was a sad day for me when my term ended last week.  For my last post with Design Memory Craft I made a small canvas to help me remember that wishes do come true.


I had a lot of fun making this little canvas.  For all the details please go to the DMC blog.  There is a step by step photo tutorial there.

It has been very crazy here.  Lots of projects.  Lots of classes.  Getting ready for the next quarter teaching.  I am making some changes very soon.  I hope you come back often to see them.

Be inspired today.  Make a wish.  It may come true!!!

Tuesday, September 2, 2014

Haunted Ephemera

What? you may ask could that mean?    Well, this month Gecko Galz has released new images and one of the collage sheets is called Haunted Ephemera.  Had you wondering didn't I?

When I saw these images I fell in love with them.  I knew right away what I wanted to do with them.

So I started with an 8 x 10 canvas that I covered with Tim Holtz word tissue paper and washi tape.  I used the Design Memory Craft Gel Medium to adhere it to the canvas.  I also gave the top a coat of Gel Medium to make sure all was secure on the canvas.  Once it was dry I gave it a light coat of Gesso.


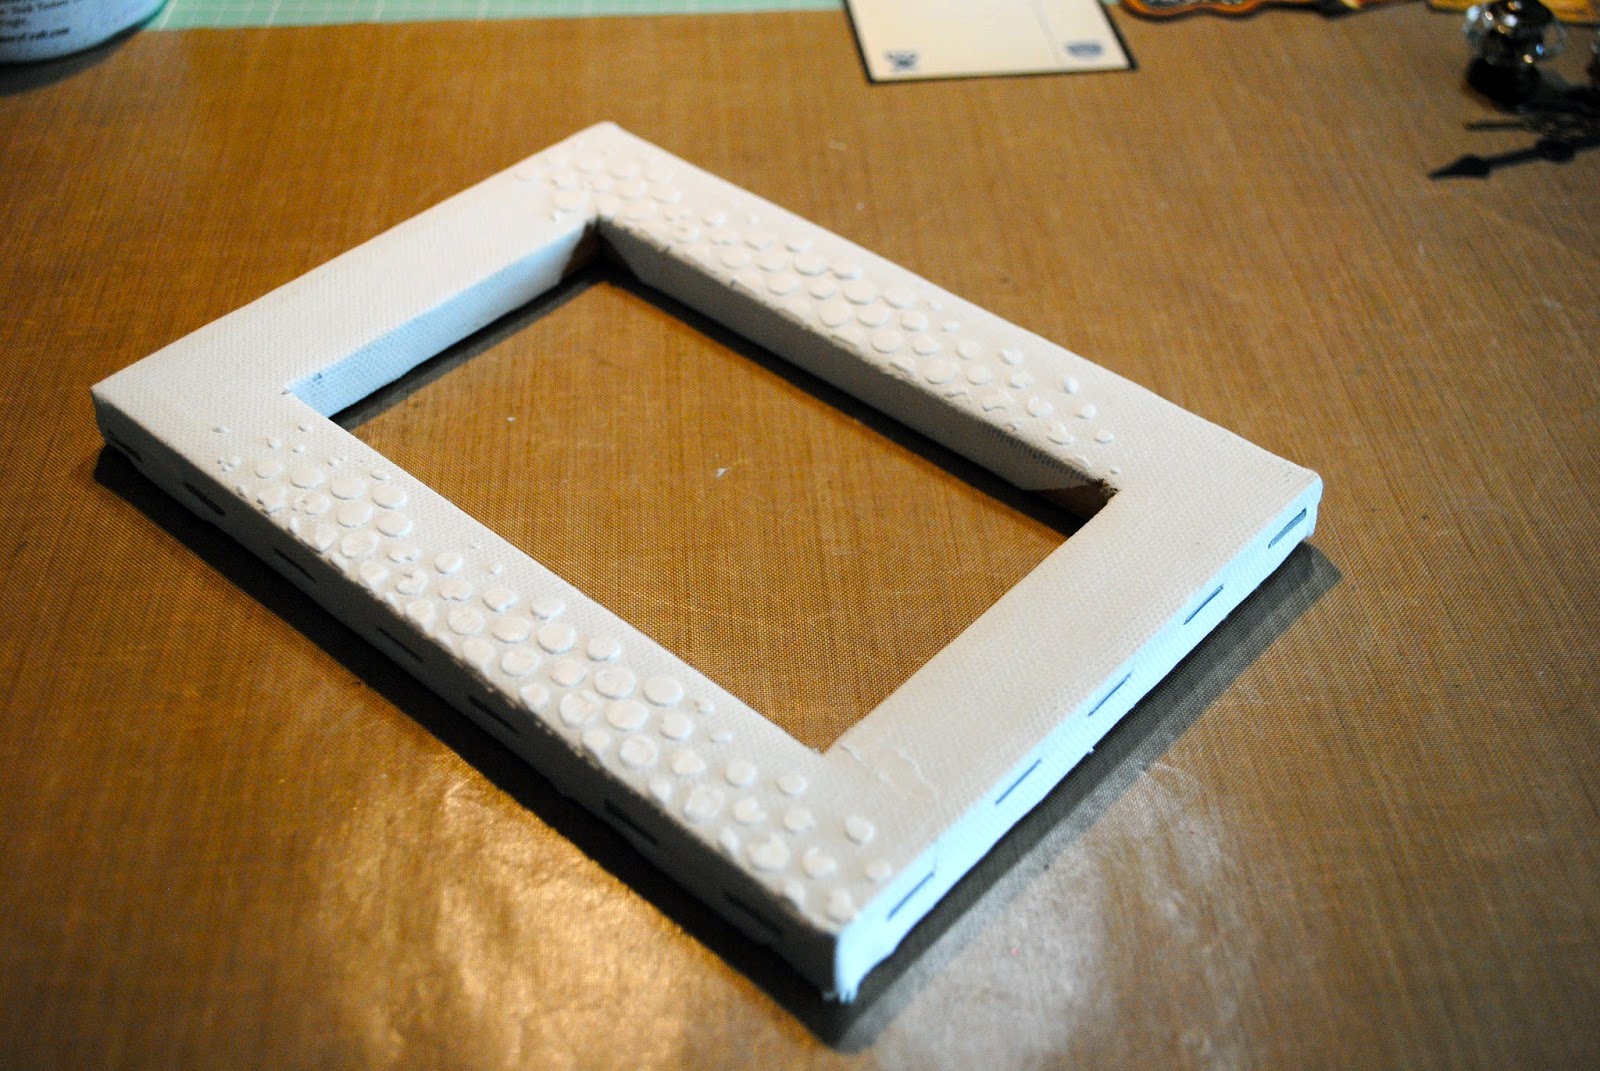
I knew I wanted a pop out effect so I decided to use another canvas sized 5 x 7.  I cut the center "x" patterned and folded the canvas to the back of the wood frame and secured with glue.  Using Design Memory Craft's Whipped Spackle I added texture to the edges of this frame using a stencil and also to the main canvas.

This is the back of the 5 x 7 canvas.  You can see how it was adhered to the wooden structure of the canvas.


Once the Whipped Spackle was dry, I scribbled Black Cherry Gelato (from the Steampunk Gelato Set) and used my fingers to rub it in.


Next I added Iced Chai Gelato to the small frame and Chalkboard Paint to the brick pattern that I had stenciled on.  I also added a little of the Iced Chai to the canvas edges to distress it.


 This is what the canvas looked like when the chalkboard paint was dry.


I adhered the small canvas to the larger one.


Next I mixed some Whipped Spackle with black gelato to get a creamy consistency. 


Spread  this mixture around the edges of the small canvas and a little onto the larger one.  I tried to keep it rough, not smooth like rough concrete.


This is a side picture of this step.


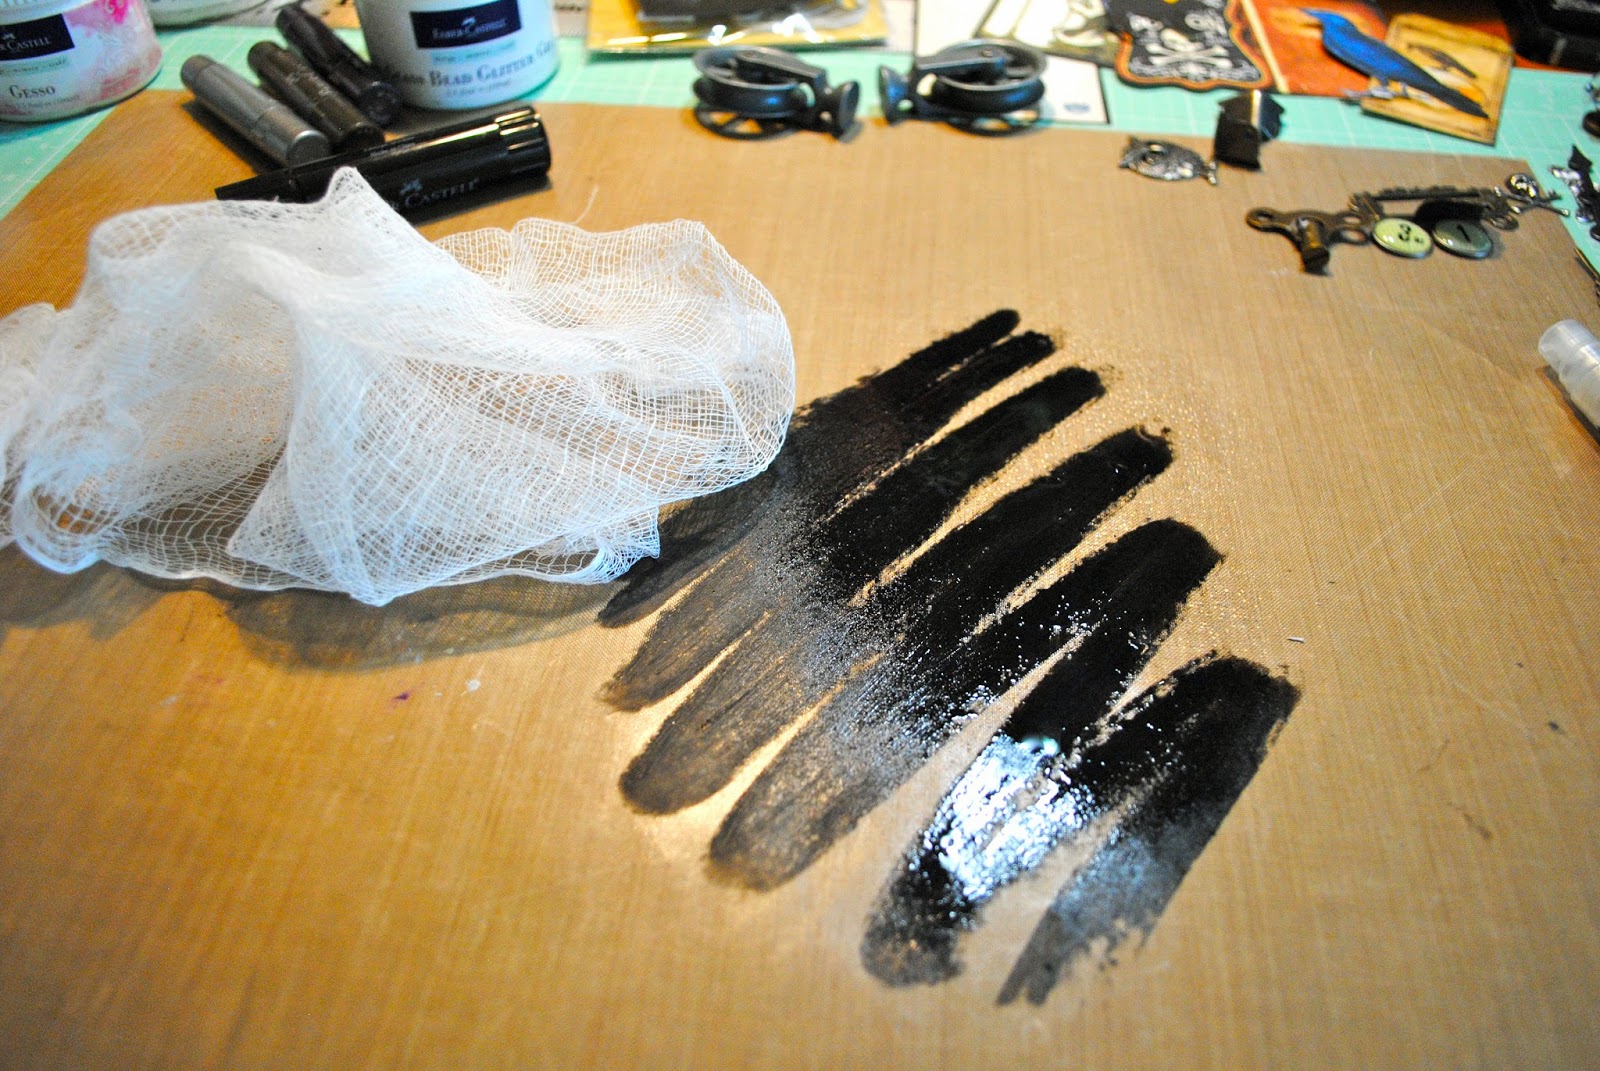
I scribbled some Black Gelato on my splat mat, misted it with water, and wiped it up with cheesecloth.  This gives the cheesecloth a variegated color.


Time to begin layering in the papers.


You can see in this picture the witch picture, the raven on the left, and the poison tag from Gecko Galz.


Here you can see the witch spells tag,and the cat and the moon image as well.


There are so many gorgeous images from Gecko Galz this month!  Stop by and check them out.  Not all are Halloween images either!

I hope I have inspired you to create a little madness today!  Check back soon for more fun projects using Gecko Galz images.  I have some cute little things to share later this week.

Saturday, August 30, 2014

So sweet!

Today is a stellar kind of day.  I have a post over at Design Memory Craft spotlighting a new mixed media project I made.

We have some friends that have the most adorable kids.  Their little girl has always been a sweetie and is very sweet.   I have had this photo of her taken a few years back that I kept meaning to give to her momma and just kept forgetting to.

Well, now I won't forget.  I decided to make the pic the center of the mixed media project.  There are more pictures on the Design Memory Craft blog today.


Take a quick trip over to their blog at :  Design Memory Craft   and let me know what you think.  The how to and the supply list can be found there as well.

Thanks Bailey for being so darn sweet!

Sunday, August 24, 2014

Let's have some fun with Gecko Galz

Boy, life has sure been crazy these last few weeks.  School started for the little guy. College kids have been in and out.  Another one has begun college.  And the biggie....my middle son celebrated earning his Eagle Scout Award in Boy Scouts!  There was a lot of planning for that celebration!  And amongst all the fun I did find a little time to create.

The images released this month from Gecko Galz were so much fun!  I just cannot even begin to tell you the fun I have had with them.  So let me show you....

These used the digital stamp set "Tea Time"


And my fav this month:  "Clowning Around"
I made a small circus tent that is filled with clowns.  It was so much fun to make and I really like how it turned out.


Each of the clowns are adhered on the end of a piece of acrylic.  The acrylic is layered into the book bindings on each side.  The clear acrylic allows you to see all of the clowns in all their silly poses when you open the book.


And a little banner to add a festive spirit.


"Japanese Traditions" and "Asian Splendor" Jewel It
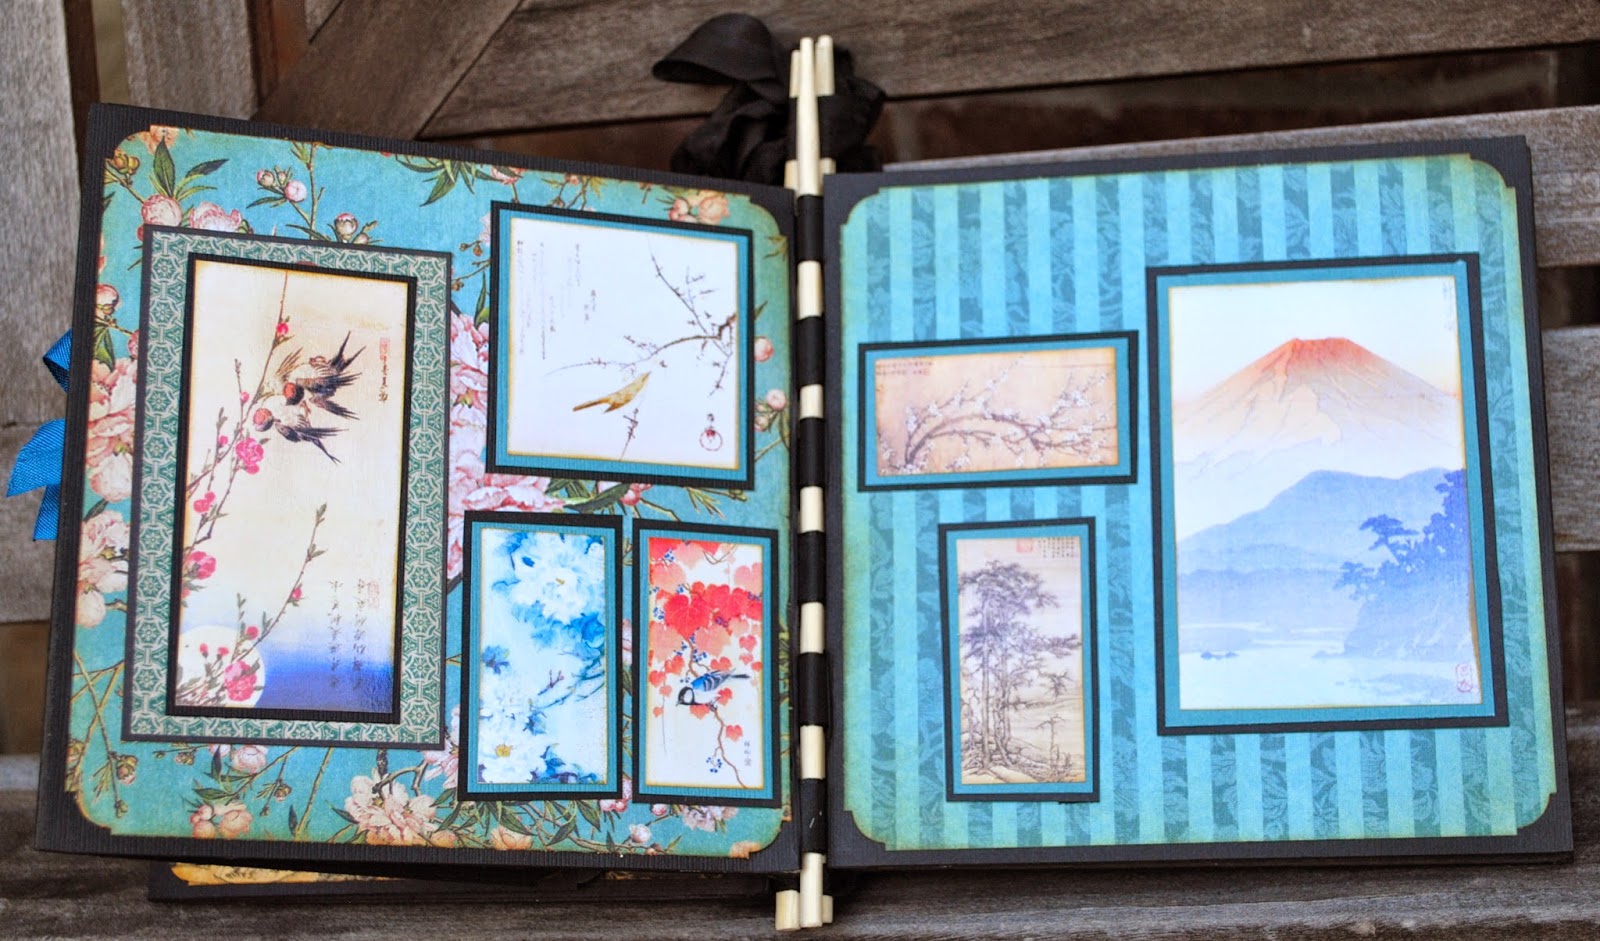
For these I created  a mini album to showcase the images.  I used the G45 Birdsong paper collection and the binding technique from G45's Denise Hahn.  The binding is made with chopsticks.  


Did you like what you see?  Visit Gecko Galz.  They have so many amazing images that you can play with.

Have an inspiring day everyone!

Saturday, August 9, 2014

Inspired

There are so many talented ladies on the Gecko Galz Design Team.  It just amazes me.  So, there I am this morning, just surfing through Facebook and boom!  there they are!  Posted on our little group are the lovely photos of new works from some of the ladies!  And poof!  Inspiration hits!

So, this is what I made:


 To make this, I began with with a bare wood "book" box that I purchased from Michaels.  It has a hinged front and a small magnetic closure.

I added several of the postcards from Gecko Galz Postal using matte medium.  Once it was dry, I painted the entire surface (even over the postcards) with pink and green Viva Decor shimmer paints.  The wood really soaked them up so I had to make a couple rounds with the paint.  Next, I painted the scroll frame with gold shimmer paint.

The inside of the box was covered with Primavera papers from Itkupilli (Deviant Scrap).  These green papers are so lucious!  The photos do not do them justice.  Lots of details and depth.  I also used these papers to cover the outside book edges and the back of the scroll frame.

Next, fussy cut the floral heart (again from Deviant Scrap).  I printed several of this image so I could fussy cut specific areas.  Adhere the frame to the front of the book.  Using matte medium, add the main floral heart image.  I then added different areas with foam tape.  I added pearls of different sizes and colors, a small cream bow, and more Gecko Galz images (the butterfly from Birds and Butterflies).   You will also see a bit of my vintage lace stash on the spine and around the frame.  To complete the book I added a bit of Precious Metals in Lilac to highlight areas.

Gecko Galz has amazing images ladies.  You really should check them out:  Gecko Galz.  Also, it is voting time on the website.  Follow the link and you can see other projects from the Design Team for this cross promotion.  Vote for the one you like the best (mine is that last one shown, hint hint ) and you get some freebies!!!

Have a wonderful weekend everyone.

Tuesday, August 5, 2014

Let Your Dreams Take Flight

Today is a rockin' kind of day for me!  I have a live post over at Design Memory Craft.  Just to give you a little tidbit.....


Now, you MUST go to the Design Memory Craft blog to see the project and the supply list.  You won't be disappointed!  Leave me some love on their blog please!

To see the entire post:  Let Your Dreams Take Flight

Friday, August 1, 2014

Fun with Gecko Galz and iTKuPiLLi

Good morning everyone!  And before you think I have lost my marbles - no, I did not misspell my title!

Today I am bringing you some wonderful goodness from Gecko Galz and iTKuPiLLi imagenarium.  Of course, you probably already know Gecko Galz.  They are an amazing digital image company.  I LOVE their stuff.  You have to go check them out:  Gecko Galz .  I just adore all the amazing images and digital stamps.  You can do ANYTHING with these - make them any size; print them on any papers; add layers to them.  And did I mention that they also have papers?  Oh yeah they do.  Beautiful ones.  I never thought I would print my own papers but these are just so pretty.  Anyway, Gecko Galz is teaming up with  iTKuPiLLi imagenarium this month to bring you some amazing stuff.  Once you have checked out Gecko Galz then you have to head on over to iTKuPiLLi imagenarium.  Wow!

So, let me show you one of the fun projects I made using images from both companies:


I found this cute little wooden birdhouse in the garage and decided to dress it up a bit.  I added the Primavera papers from iTKuPiLLi and then added acrylic paint to all the edges.  The paper needed to be distressed a bit more so I made a wash of water and a bit of brown acrylic paint and "painted" over the surface of the paper.  It gave it a more worn look.  So, I completely, totally fell in love with the cherry blossom flowers from  iTKuPiLLi!  I just think it is beautiful.  Had to use it!  I made several prints of the flower and fussy cut them all.  Using foam tape I layered the flowers onto the birdhouse.  The one at the very top is flat on the birdhouse (I used gel medium).  The lovely little songbird is from Gecko Galz - birds and butterflies collage sheet.  Again, I made 2 copies of the bird and fussy cut them.  They are adhere using foam tape so it looks like he is sitting on the perch of the birdhouse.  A little silk greenery finishes out the birdhouse.

So loving' this!  I just am amazed at the detail and dimension of the images.  

A little tip :  I love using digital images but worried that printing them on my computer printer at home would just eat up the ever expensive color ink.  You too?  Well, I have a solution!  I send my prints to Office Depot.  It is .59 per color copy and you can have them printed on heavy 100lb coverstock for an additional .10.  The papers, digital stamps, and the images can be sent and print perfectly.  Just call your local store and get their email.  I usually send the email and then go pick it up in an hour.  Of course, there are those times that I just don't want to leave the house and so I print them at home.  But honestly, the prints from Office Depot are clearer and so easy!


Inspired?  You really need to go check out both companies.  Also, stop by the Gecko Galz website and click on the picture under the iTKuPiLLi cross promotion section.  You can see some wonderful papercrafting from some of the other ladies on the DT at Gecko Galz.

Check back often.  I have so much to share with you.  Have a great day everyone!